
The Lavochkin La-5 is very similar to the British Spitfire in that, with the exception of a marking here or there, one plane looks more or less identical to every other plane. These weren’t the flashy P-47s and P-51s of the USAAF, with elaborate nose art and squadron markings. Late-war Soviet fighters gained a bit more leeway, and a lot of them began sporting more colorful cowls and elaborate markings as they achieved air superiority. But the La-5 was a mid-war fighter, and you could pretty much get one in whatever color you wanted, so long as it was green, black and blue.
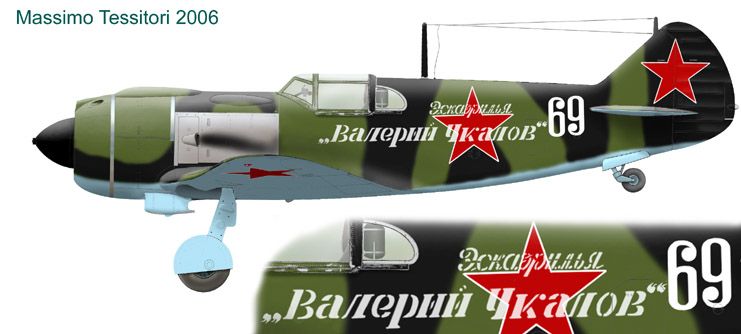
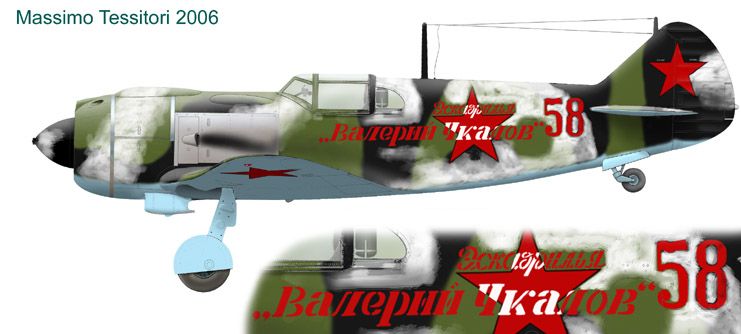
I decided early on to build this rather typical La-5, “Silver 69”. Nothing special about it, really, though I figure it’ll be a phenomenal warmup for my next La-5, the shoddily whitewashed “Red 58”:
Painting started with the usual primer coat – Gunze Sangyo Mr. Surfacer 1200.
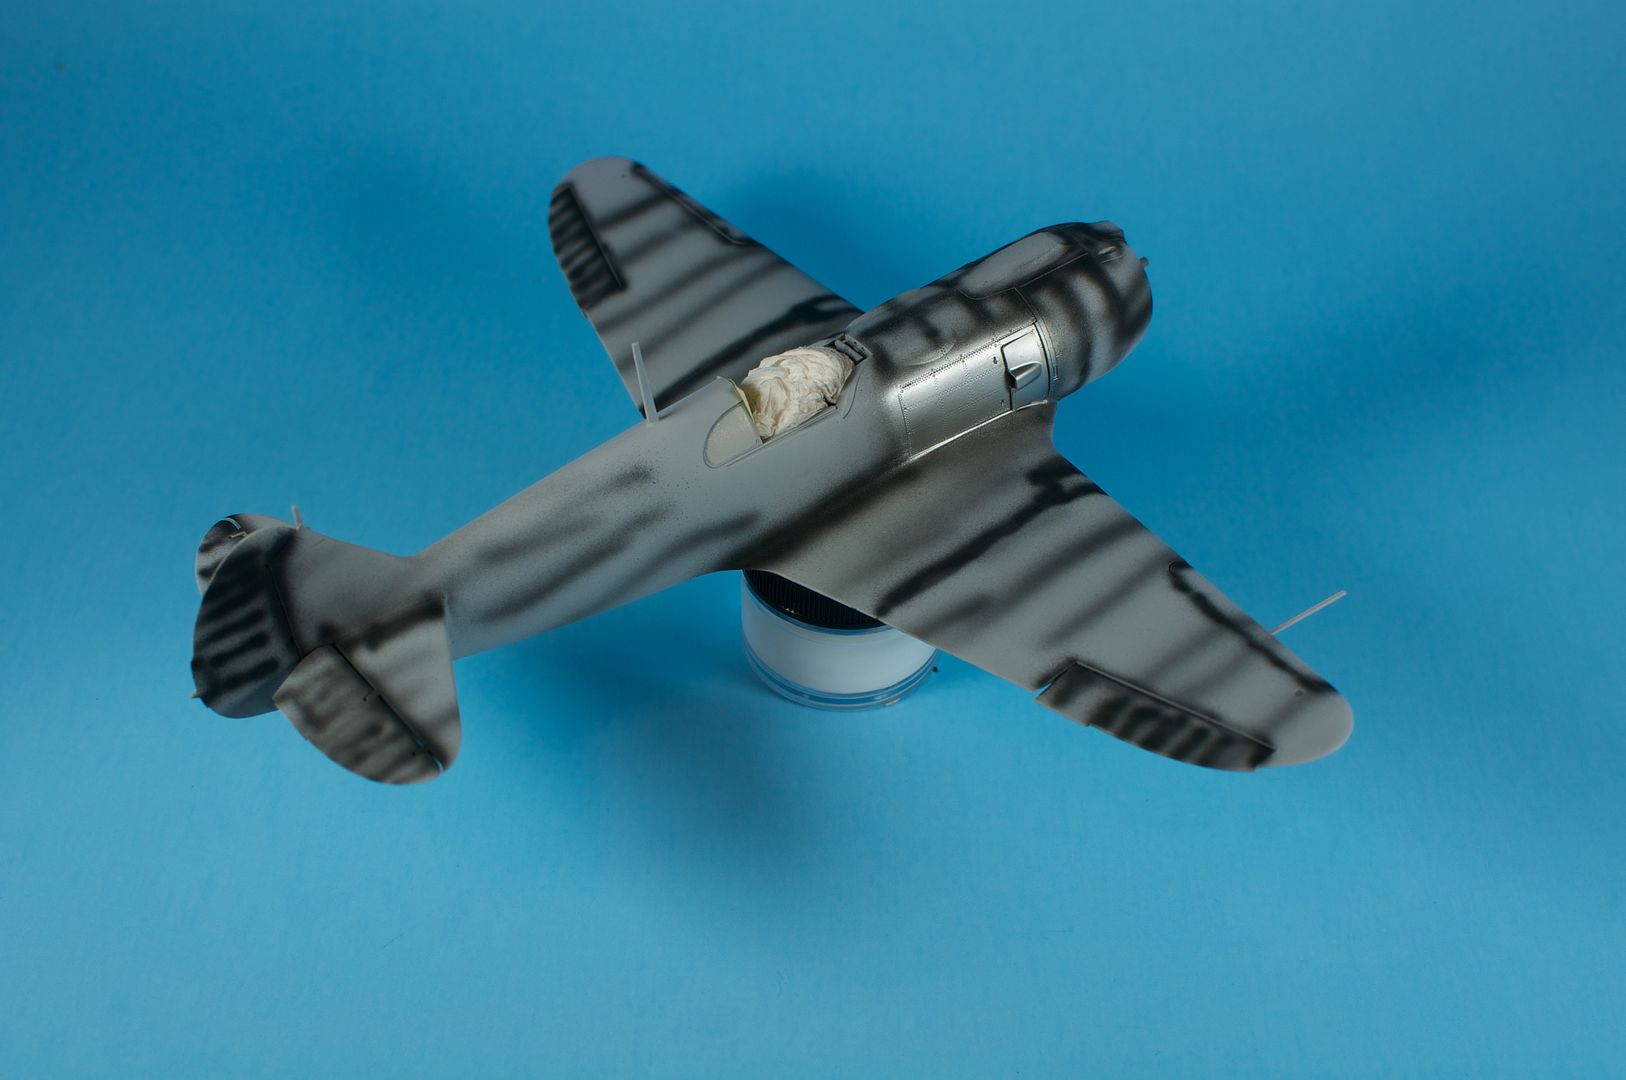
Once the primer cured, I sanded it smooth (a swipe of sandpaper does wonders for MS1200) and did a fairly terrible job with the pre-shading. After that it was time to paint the exhaust plating. My first pass with Alclad II Steel looked way too dark, so I went back with Dark Aluminum. Much better.
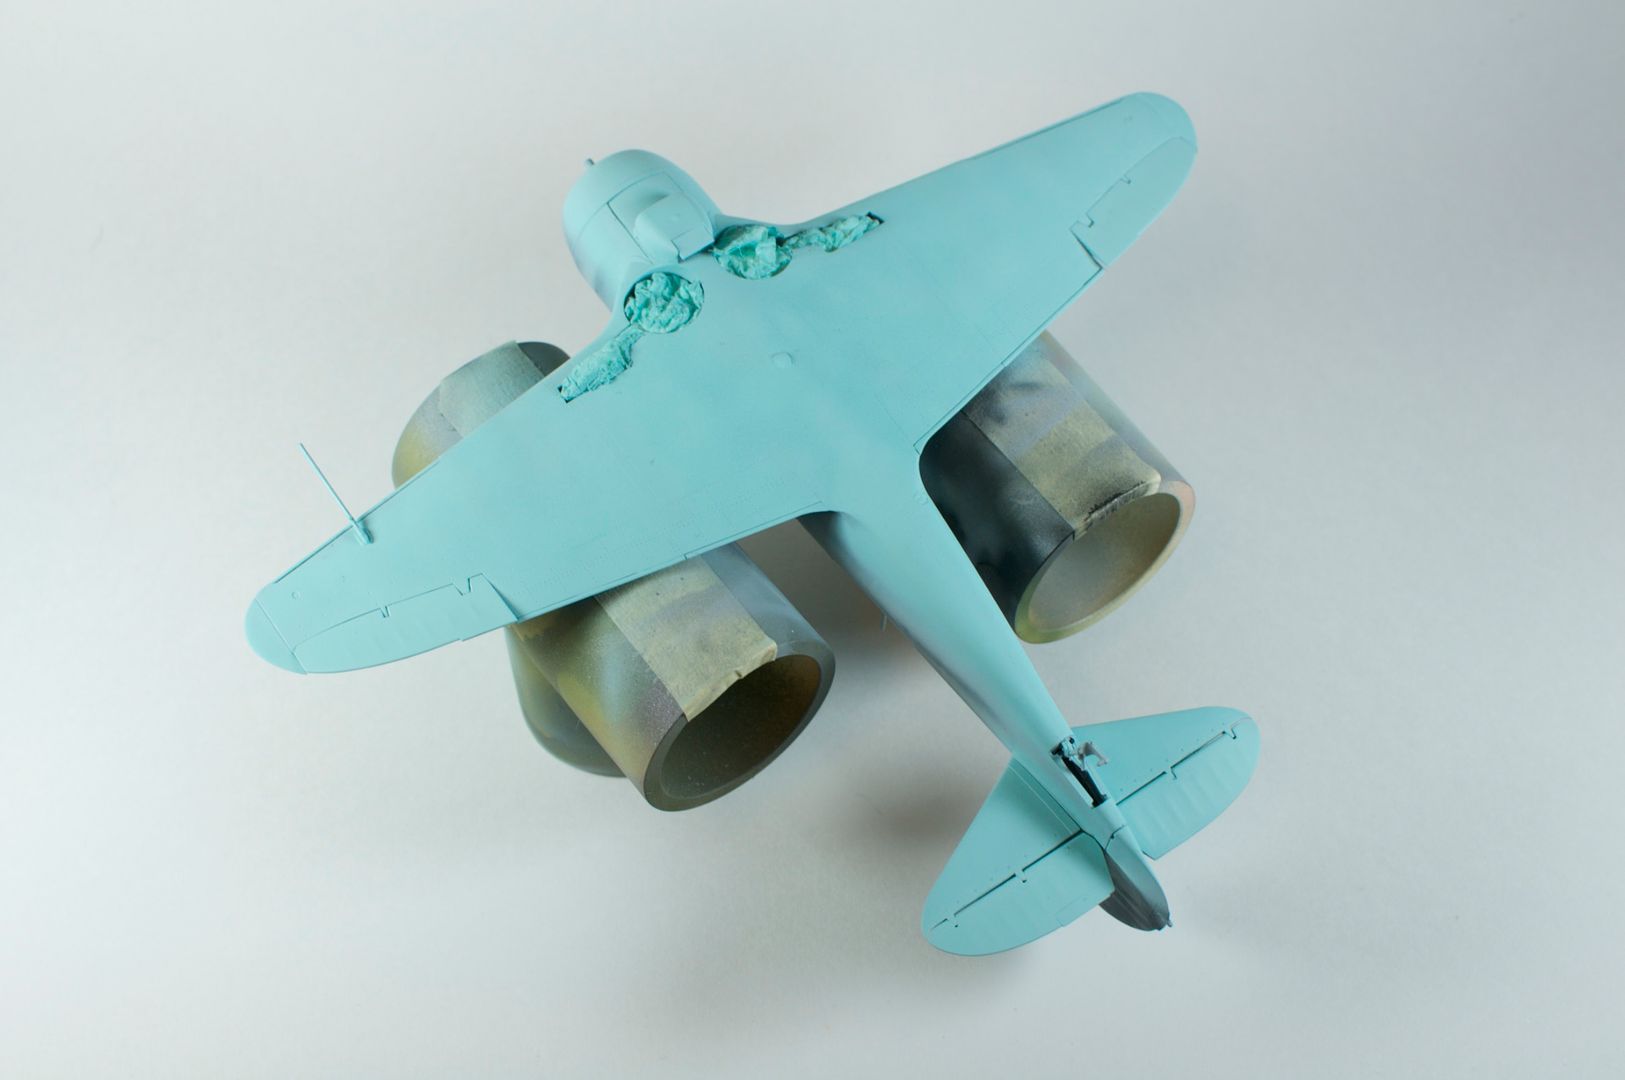
From there it was on to the new White Ensign Colourcoat enamels. I started on the bottom with AMT-7 blue.
I was impressed with the quality of this paint from the get-go. Enough so that I ordered several more colors for various upcoming builds, and plan to adopt the enamel line as my primary paint of choice. Treat it right, and it sprays unbelievably well out of the airbrush, with none of the tip dry issues acrylics exhibit and none of the spatter I tend to get from Testors Model Master enamels. In fact, I’ve noticed that I’ve been getting better and better spray characteristics as I go, almost as though there’s a “break-in” period for the airbrush and paints. Cleaning has also been getting easier.
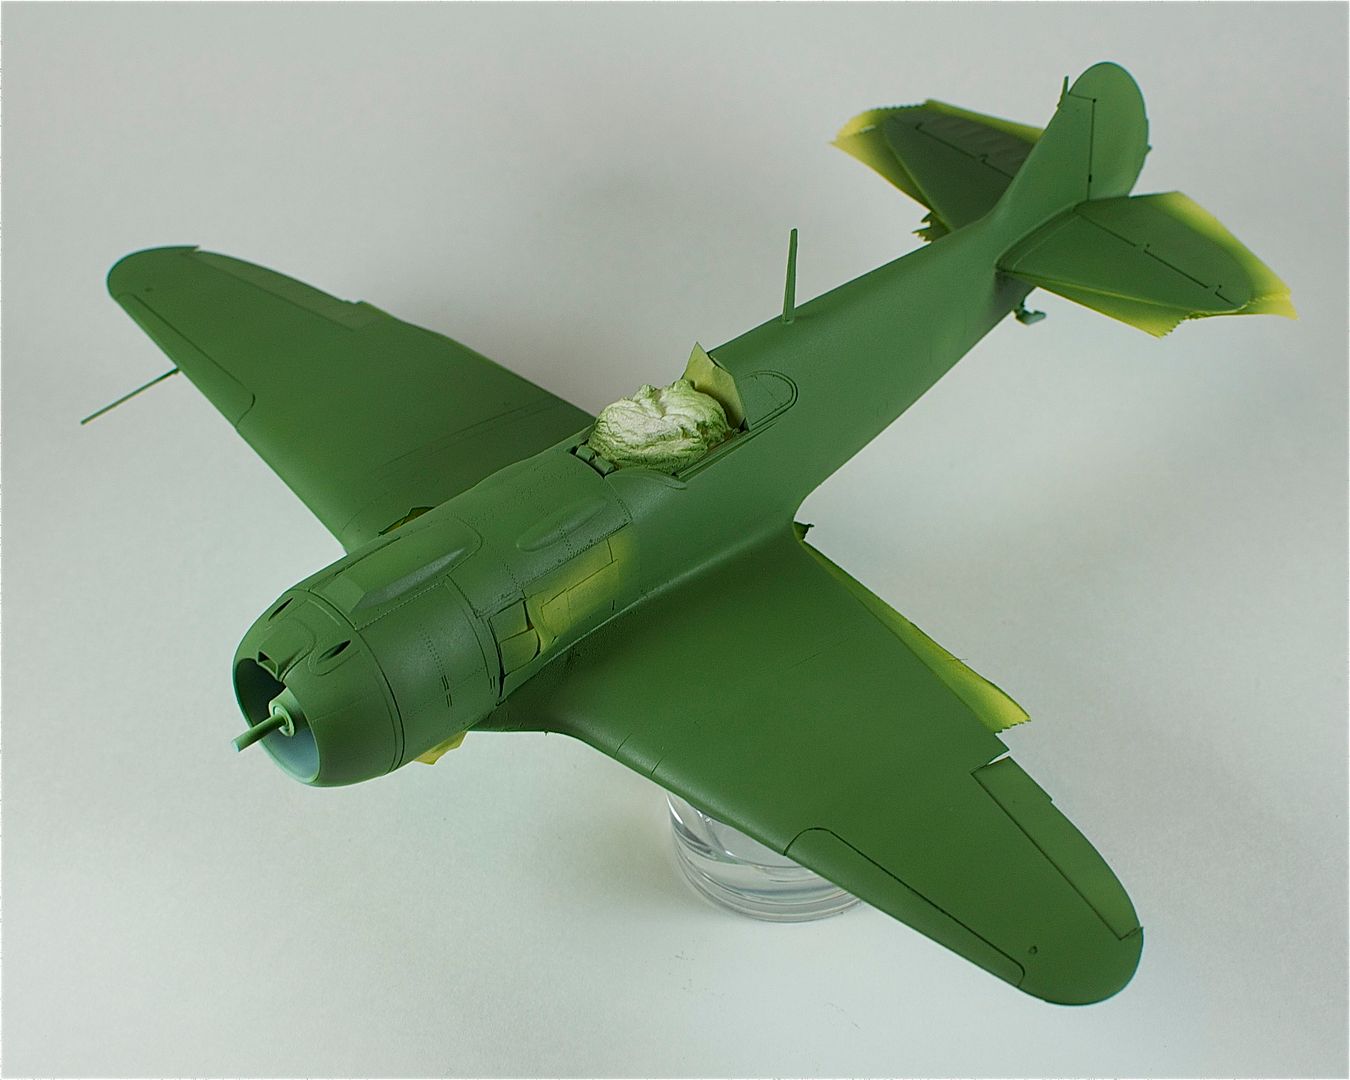
Once the blue dried, I moved on to the upper surfaces, which were sprayed with AMT-4 Green.

Once I had the base coat down, I added a few drops of white and sprayed the lightened mix over various areas (fabric control surfaces, panels around the engine cowl, random streaking on the wings) to break up the uniformity and give some tonal variation to the paint.
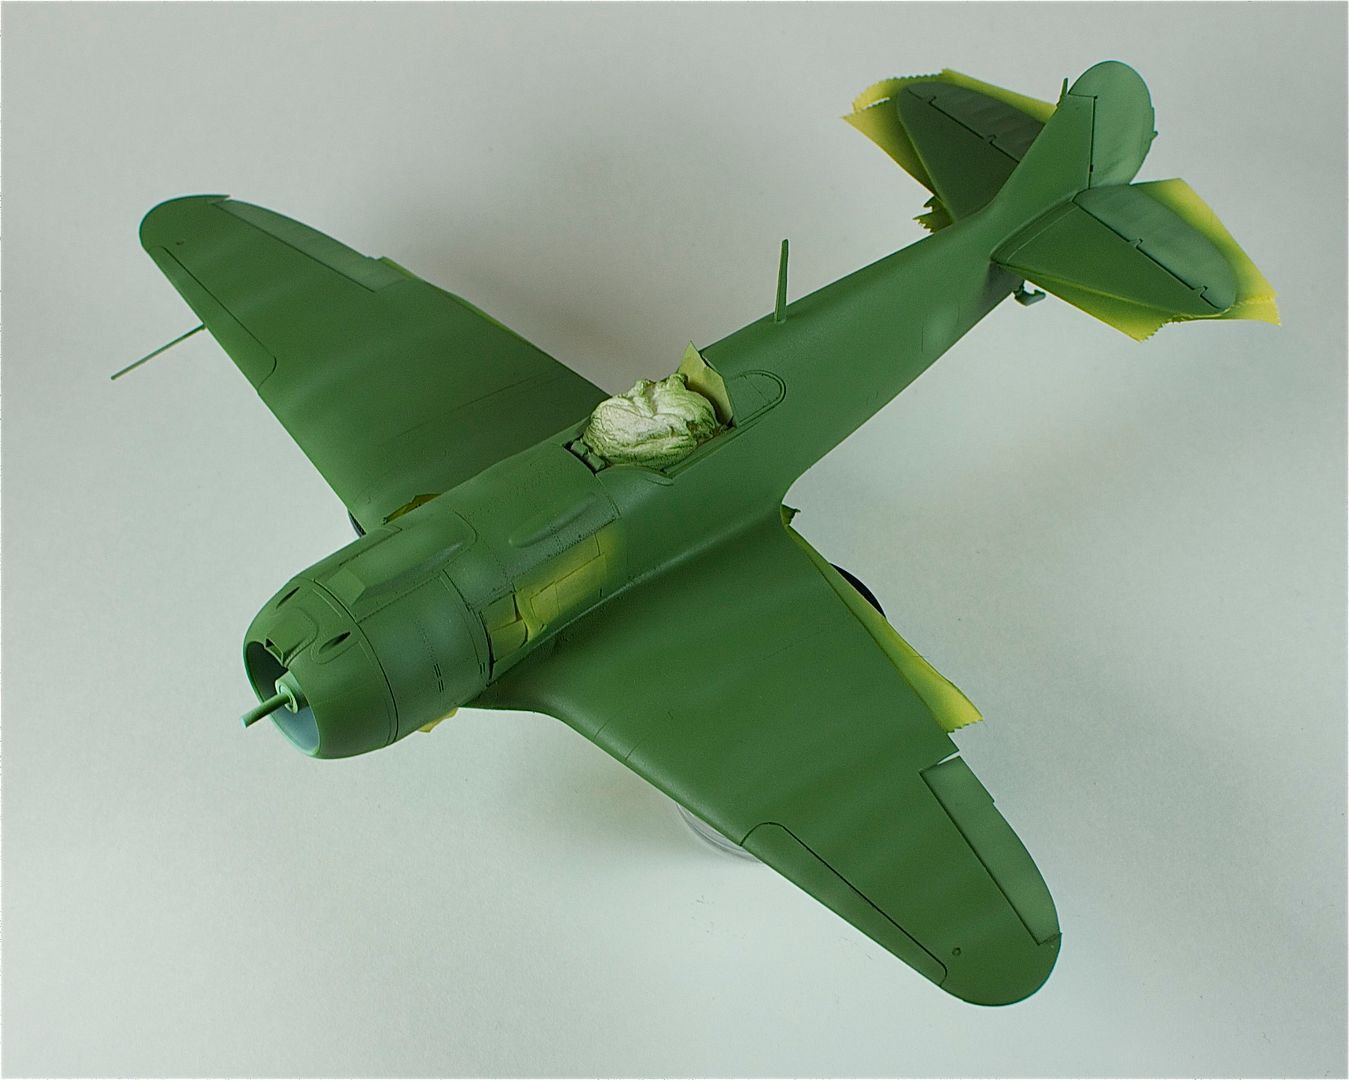
This was then toned back down with a thinned coat of the original AMT-4.
Admittedly, this aircraft isn’t the ideal candidate for the Three Layer Blend technique (look for a post on this sometime down the road), since it lacks the panel lines and other surface details to help break things up. Nevertheless, the extra depth and character to the paint helps.
Once the AMT-4 dried, it was time to mask for the AMT Black, which is closer to a very, very dark gray. After my experience masking the Yak-3 with Play-Doh, there was no way I was going to chance that again, so I turned to another recommended substance, Silly Putty.
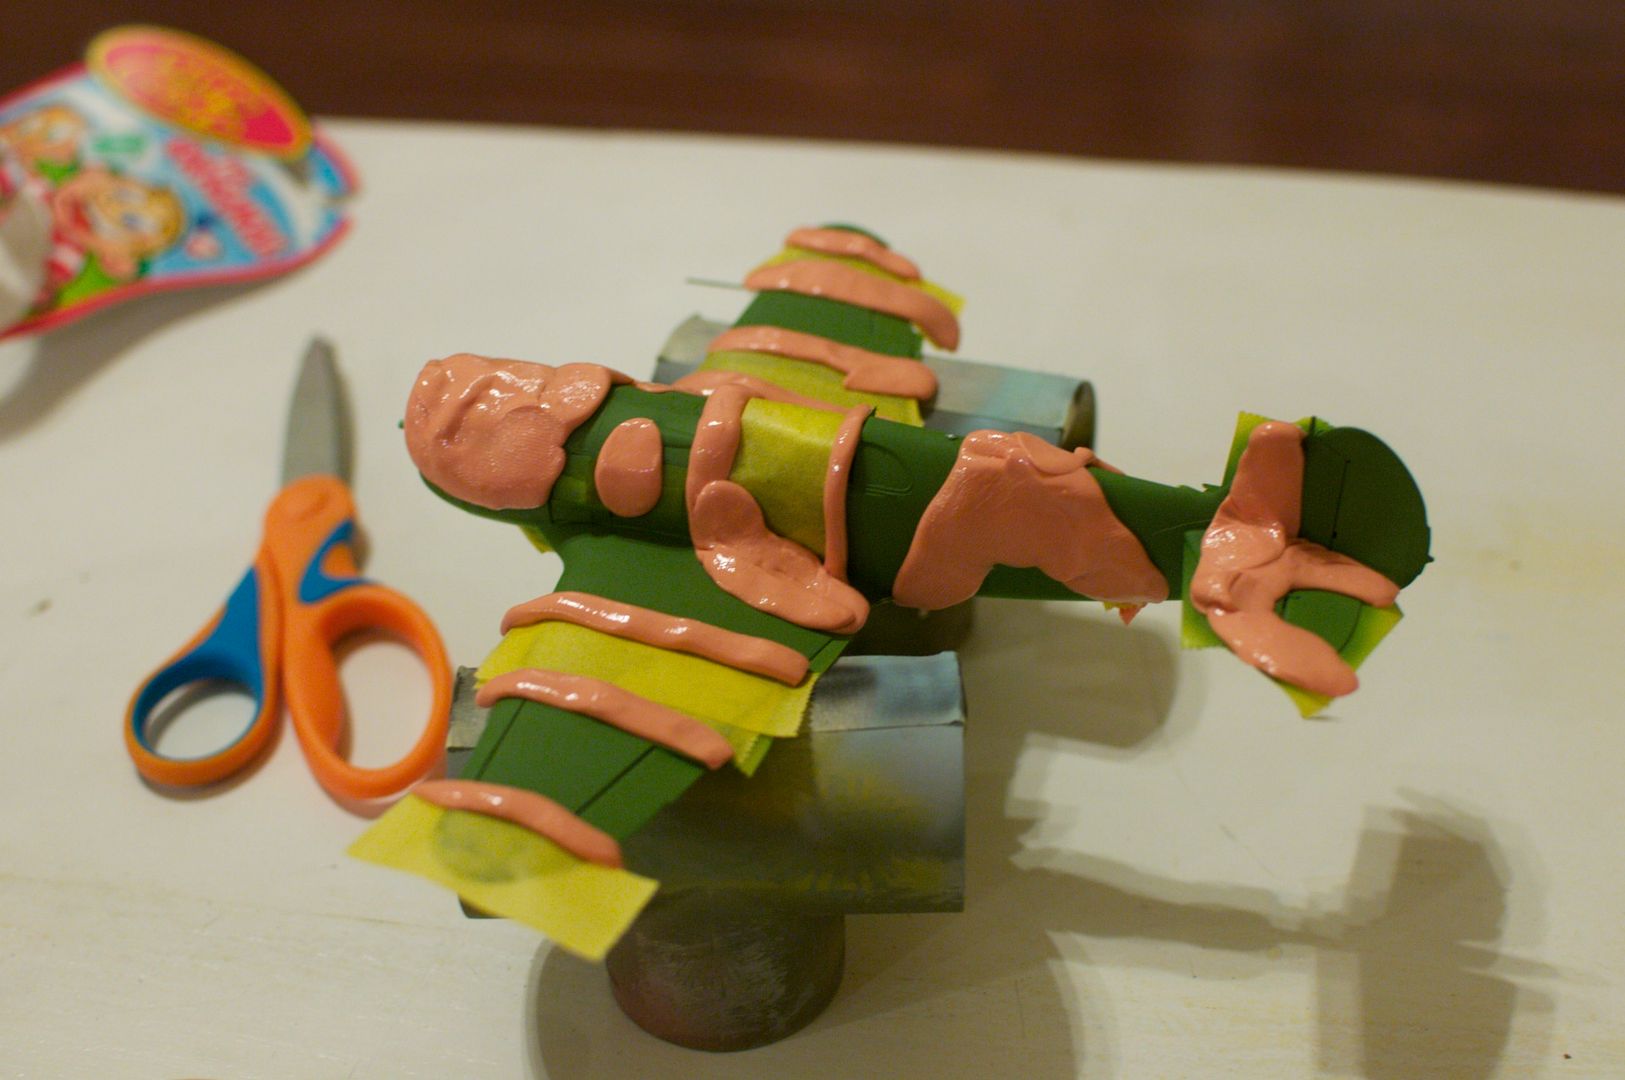
The results were much better, but I also had my first vaguely negative experience with White Ensign. Namely, the AMT Black went down a bit rough. I think it’s entirely my fault and that I probably got too impatient with my airbrushing. Still, not too bad, and some wet sanding has smoothed things out nicely.
In the midst of all this, I also 1) resprayed the demarkation line between the the blue lower and green/black upper surfaces and 2) managed to break off the aerial mast and build a new one out of brass stripping.

If you look closely at the green – particularly the big swath just behind the cockpit – you can see that the Silly Putty and/or tape seem to have caused something to happen with the paint. My theory is that one has gone slightly more shiny or flat than the other, and that the coming clear coats of gloss and flat will smooth everything.
I also haven’t painted the metal cowl rings yet. I’m planning so save those until as late as possible, since the Aclad I’m planning to use loses it’s sheen under clear coats.
Next up, decals and weathering.

One Comment Add yours