
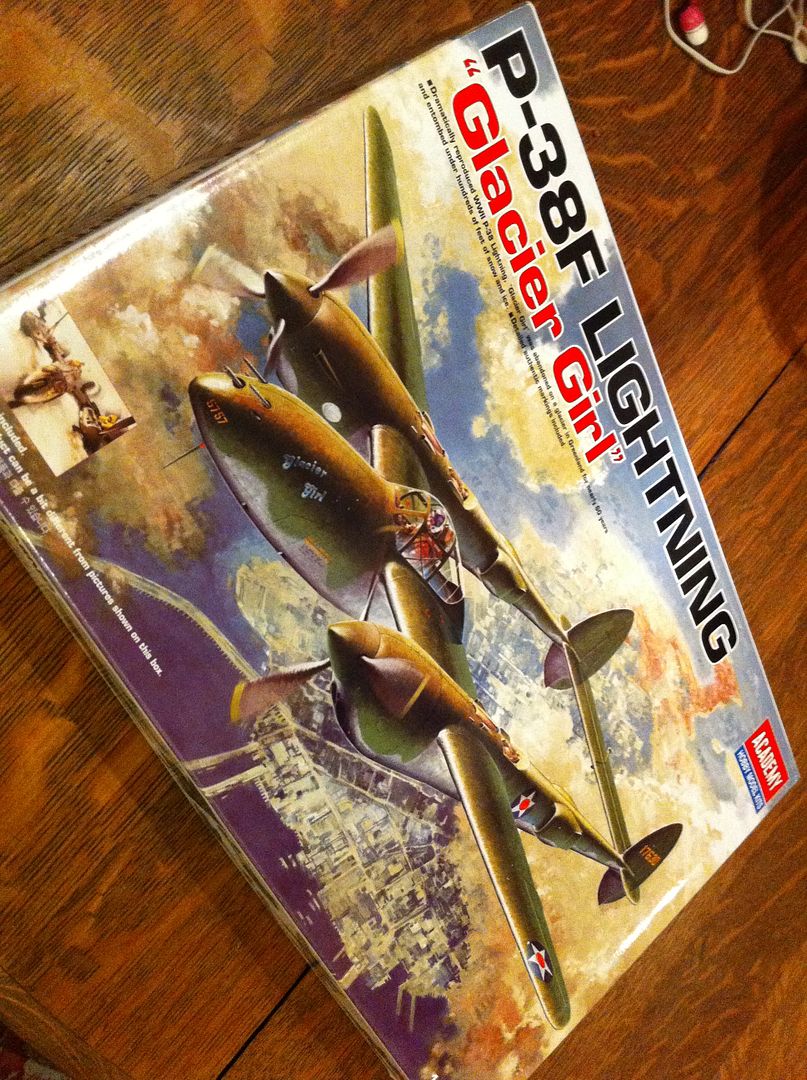
Most of the prominent World War II fighters are pretty well represented in 1/48th scale, with at least one “definitive” kit and a few others close on their heels. There are, of course, a few exceptions, notably the Soviet fighters (though Zvezda is rolling that back somewhat with their fantastic La-5 series) and, strangely, the P-38 Lightning.
The P-38 is probably one of the most recognizable aircraft ever produced, and it’s kind of amazing that it’s been so poorly represented. Oh, kits exist. There’s the old Monogram/Revell and the newer entries by Hasegawa and Academy, but they’re all flawed in some way or another. The usual sticking points are the fit and alignment of the booms, the poor gear bay detail, and the lacking cockpits.
The Cockpit
I think working side-by-side on Academy’s P-38 and Tamiya’s exceptional P-47 might have been a mistake. Next to the Tamiya’s cockpit, Academy’s effort feels lacking in every way. The details aren’t as crisp, the cockpit’s not as cluttered, and the fit is nowhere near as assured.
One example. The sidewalls and rear bulkheads of Tamiya’s cockpit use keyed tabs that not only locate the pieces to the cockpit floor, but hold them in place in a tight, positive fit. Academy uses tabs as well, but without the keyed approach, they don’t hold in place. This is by no means an insurmountable problem, but it is a bit frustrating.
I was also somewhat dismayed to find that the Academy cockpit seems to draw so much inspiration from the dated Monogram kit. Apart from some slightly tighter detail and the two-piece steering yoke, they could seriously be the same kit. Hell, they might even be interchangeable. Bottom line – if you’re opting for Academy’s kit in hopes of better cockpit detail, you may as well just buy the Revellogram.
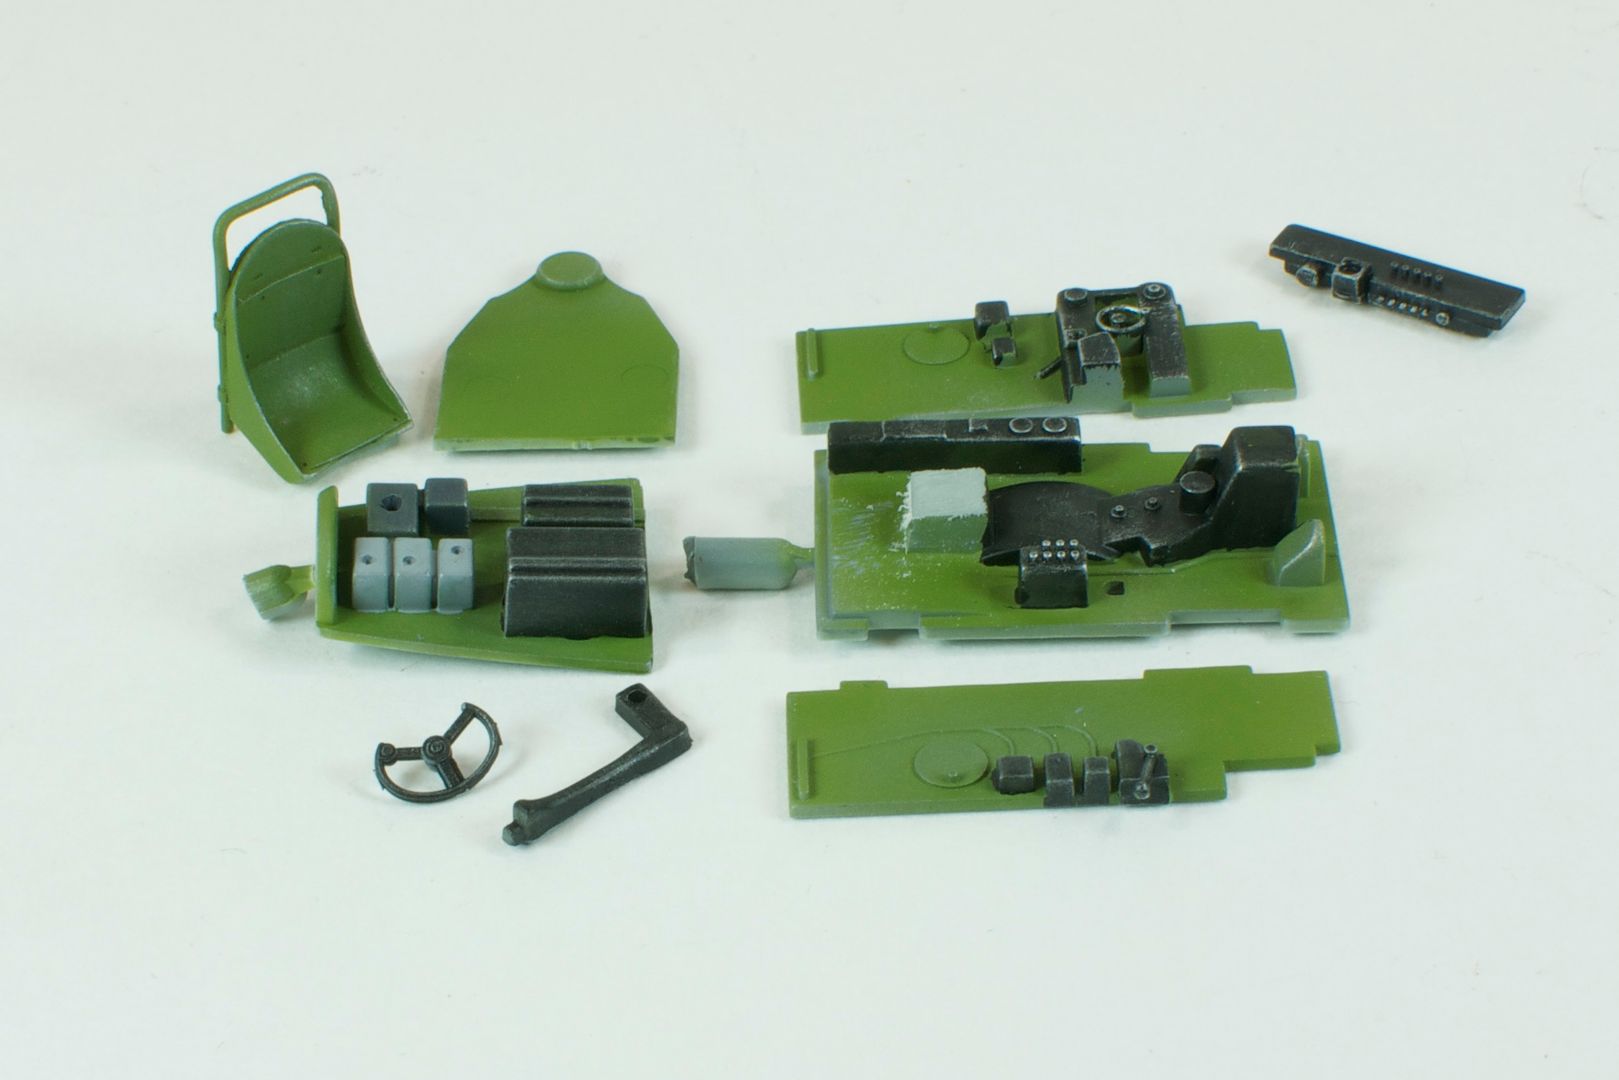
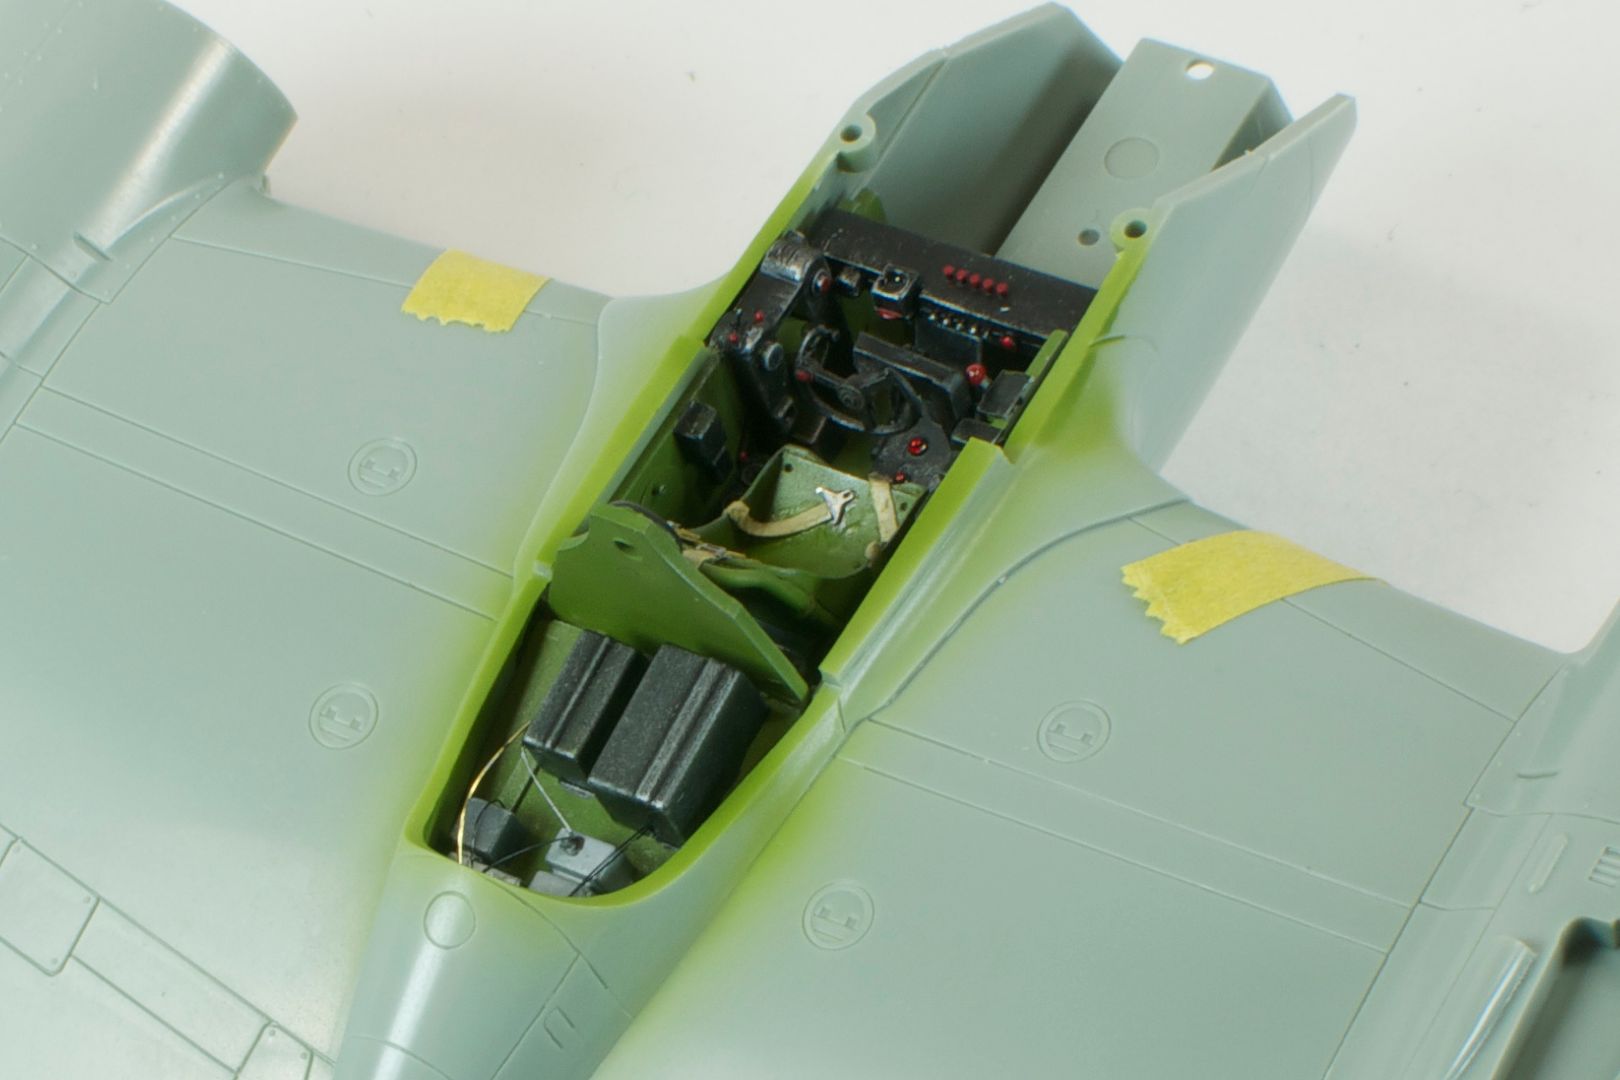
I kicked off the Academy cockpit in the usual way. Model Master primer followed by Model Master Interior Green. The panels were picked out with Vallejo black. The cockpit was drybrushed with Floquil Old Silver and details were picked out with MM Insignia Red, Chrome Silver, and Tamiya Clear Red and Clear Yellow. I also drilled some small holds and made levers for the completely undetailed throttle quadrant out of brass wire with CA knobs.
The Ultracast seat was detailed with seatbelts of Tamiya tape and Eduard buckles, and everything was assembled and given a wash of raw umber artist oils.

Up next, a rather involved buildup process…
