

As I said in the last build post, Tamiya’s P-47D is a honey of a kit.
And nowhere is that more apparent than in the main assembly process.
There are plenty of kits that make you shake your head at their asinine design choices, or the sloppy, vague way critical parts fit (or don’t) together. Tamiya’s P-47 is the opposite. At nearly every step of the assembly process, I found myself smiling at the quality of the engineering. Not only the fit of the parts, but the thought that went into how they would go together and build up into a cohesive whole.
Stage 1 – Main Fuselage and Wings
I kicked off the build with the wing spar, a two-piece assembly that nestles itself inside the fuselage and basically makes fitting the wings idiot-proof.

After battling with the wings and short, stubby connection points on Hobby Boss’ Wildcat and Monogram’s P-47 over the past few months, the spar seems like a no-brainer solution, and honestly something I’d love to see included with any mid-wing design.
Just one problem. The spar is exceptionally good at locking itself into the fuselage, which made separating the fuselage to fit a forgotten part in before joining things up a somewhat tense experience of having to apply a ton of pressure while fretting that the cockpit and some of its fragile assemblies would go flying halfway across the garage. Fortunately, I got the halves separated, installed, the part, and then joined the fuselage without incident. The wings went on similarly well.
Stage 2: The Dorsal Spine
With most models, the fuselage is divided into two halves that must be joined down the middle. The Jug mostly follows this longstanding practice, but its dorsal spine, running from just aft of the cockpit all the way to the rear of the plane, consists of another two pieces that must be joined and then welded to the top of the fuselage.
This is stupid.
I understand why Tamiya did it. The P-47M featured a dorsal fillet ahead of the tail to improve stability, and so by making the dorsal spine a separate assembly, they could reuse the main fuselage for their -M variant as well.

Whatever. It’s still annoying, and the fit, while good, is a step below the rest of the kit.
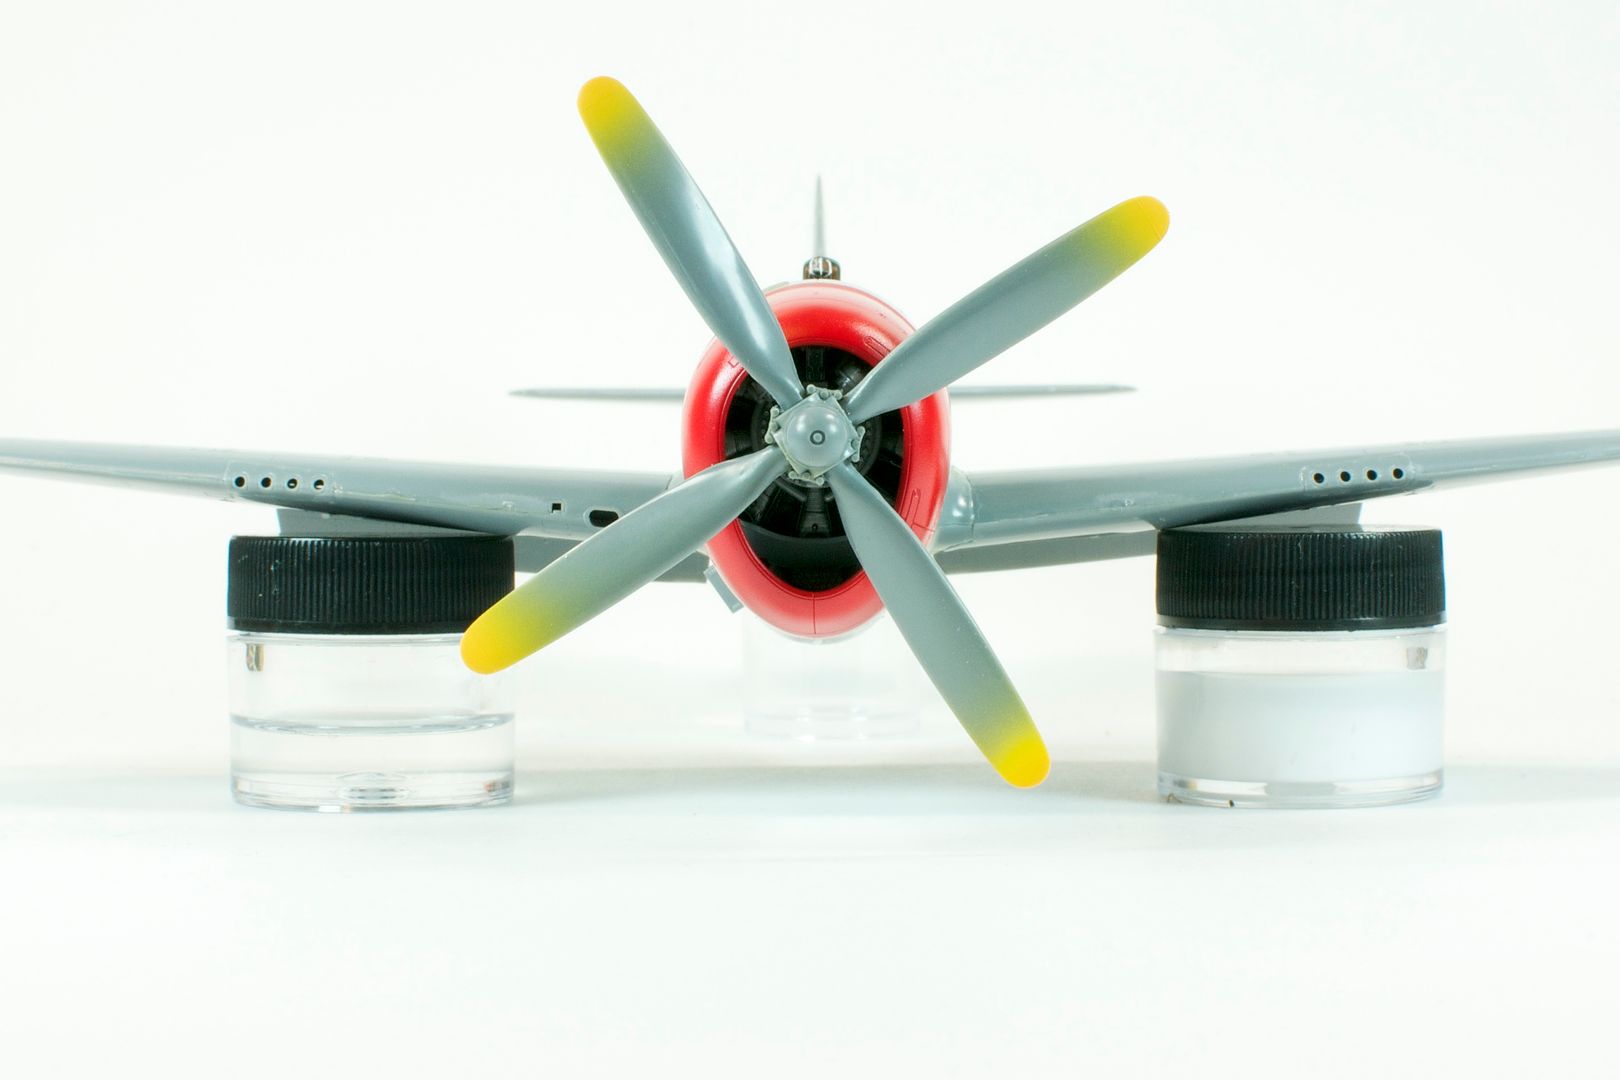
Stage 3: The Engine
Tamiya represents the cowl, intake separators, and engine in eight parts. These go together extremely well, and are separated in a way that makes the necessary detail painting a breeze.
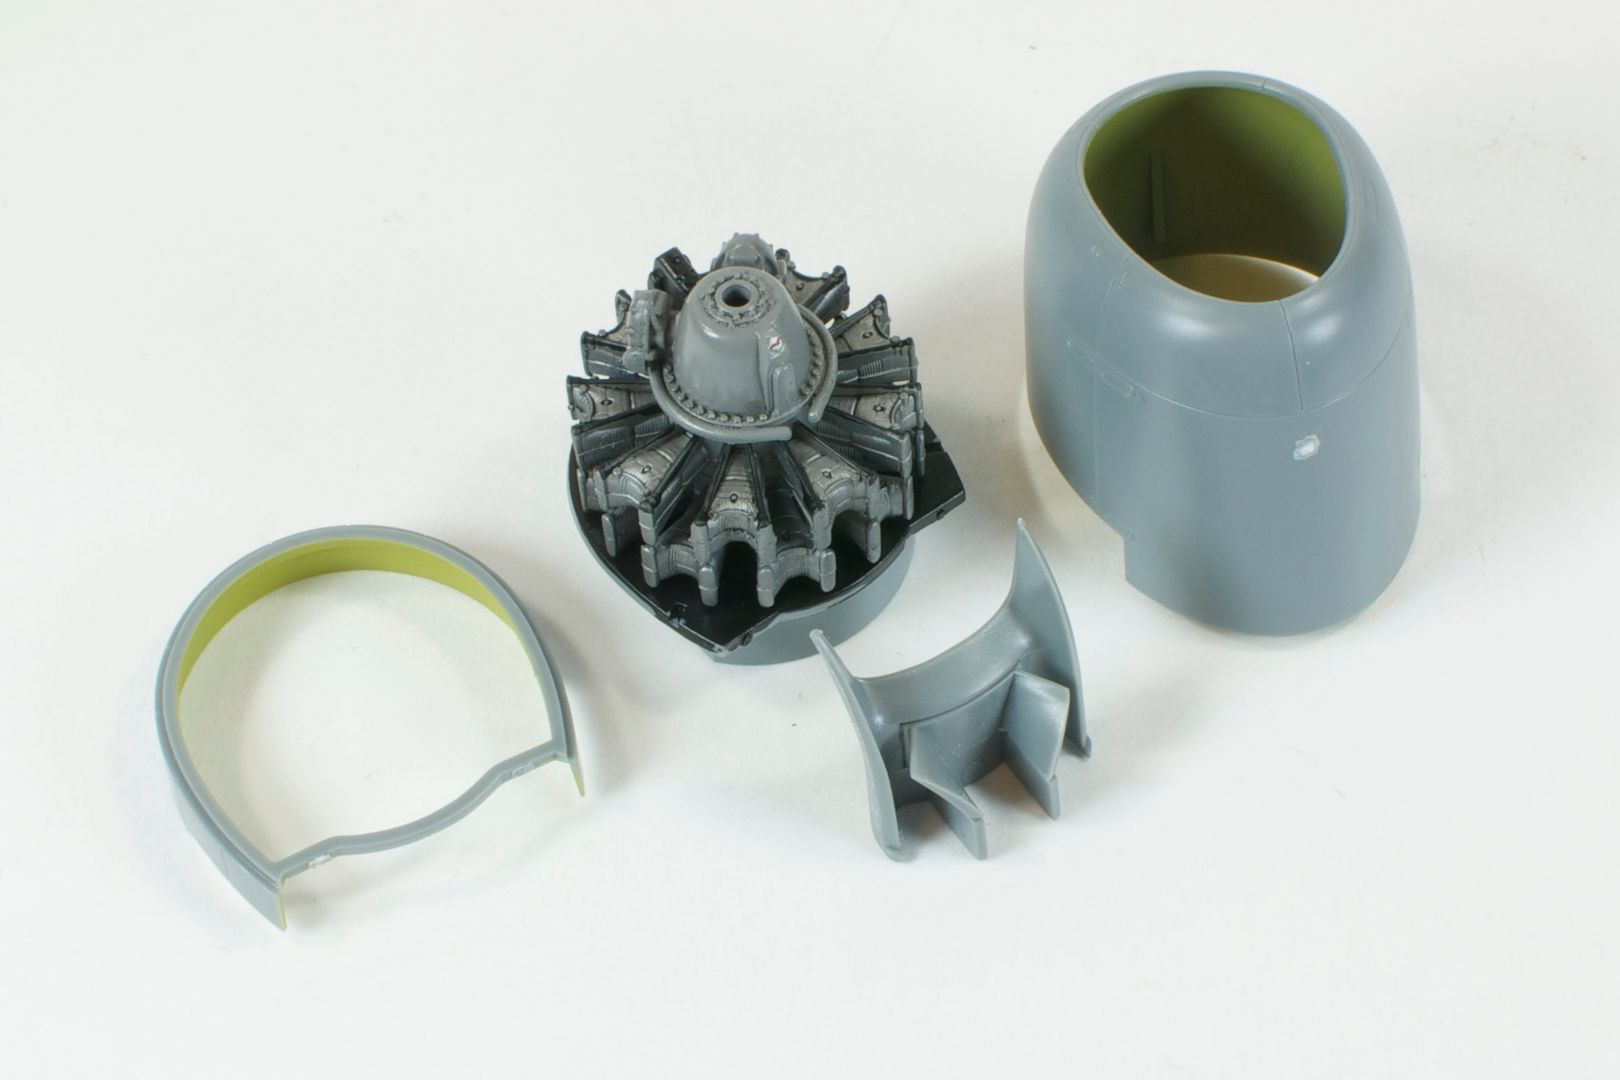
While not a concern on this kit, I’ve seen several Thunderbolts with brightly colored cowls or differently colored cowl flaps, and Tamiya’s design should make anything like that a breeze to paint without masking.
Tamiya also gives you a choice of open or closed cowl flaps. I opted to go with closed this time around, since I didn’t feel like scratchbuilding the flaps actuators.
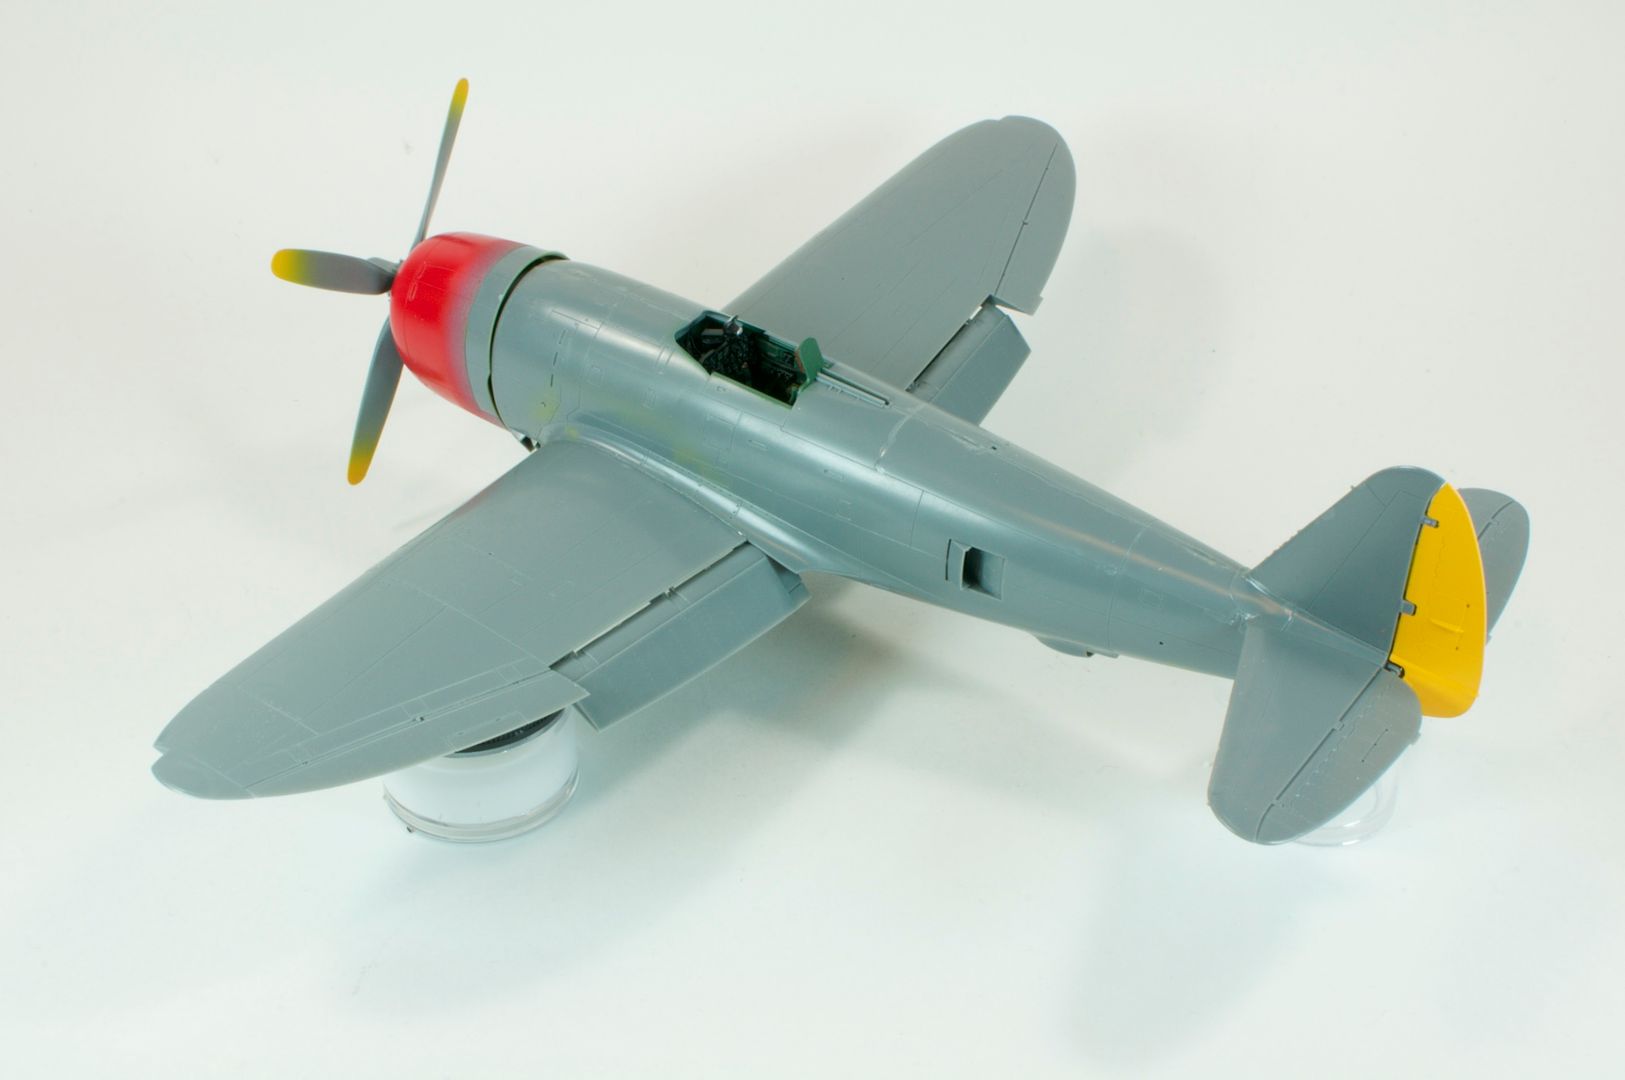
Stage 4: Stabilizers, Control Surfaces, and Final Assembly
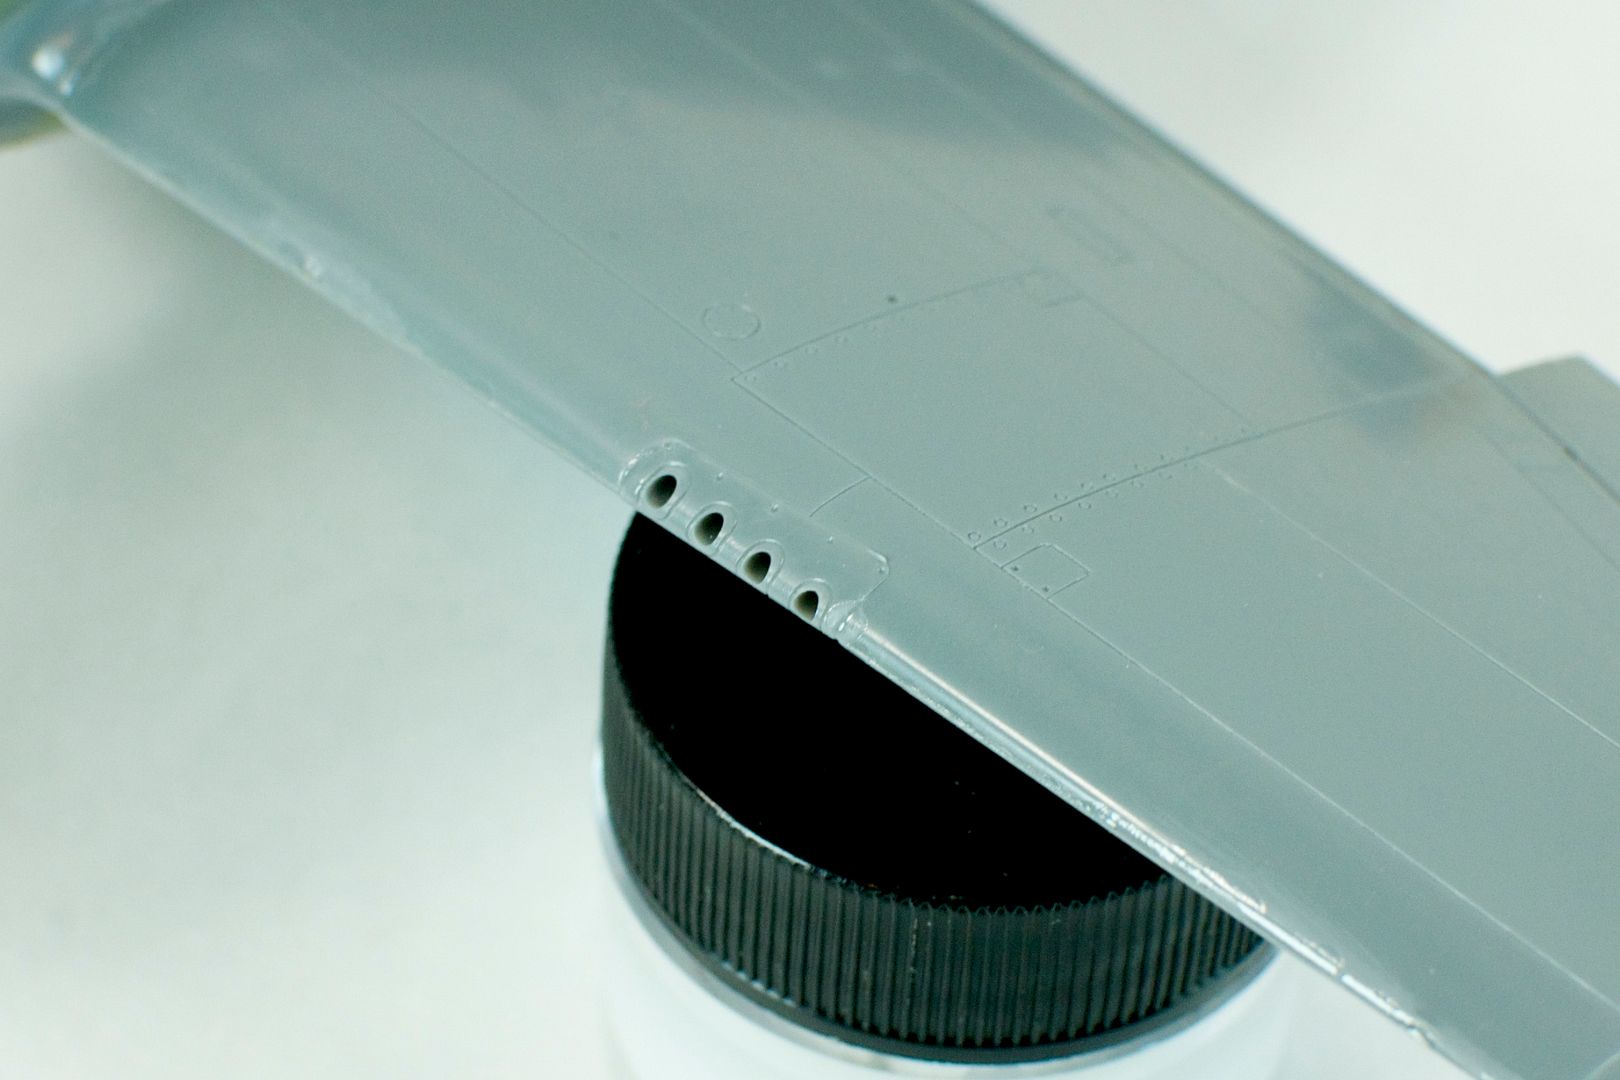
Once the fuselage is together, the wings are on, and the cowl assembly completed, there’s actually not that much left to do to the big Jug before it goes under paint. The horizontal stabilizers installed into the tail perfectly, a few small panels fell right into place under the wings, and the blast tube ports lined up quite nicely.
I also assembled the flaps and painted the rudder at this time, but neither will go on until principal painting is complete.
Overall, it’s starting to look very much like a Jug.
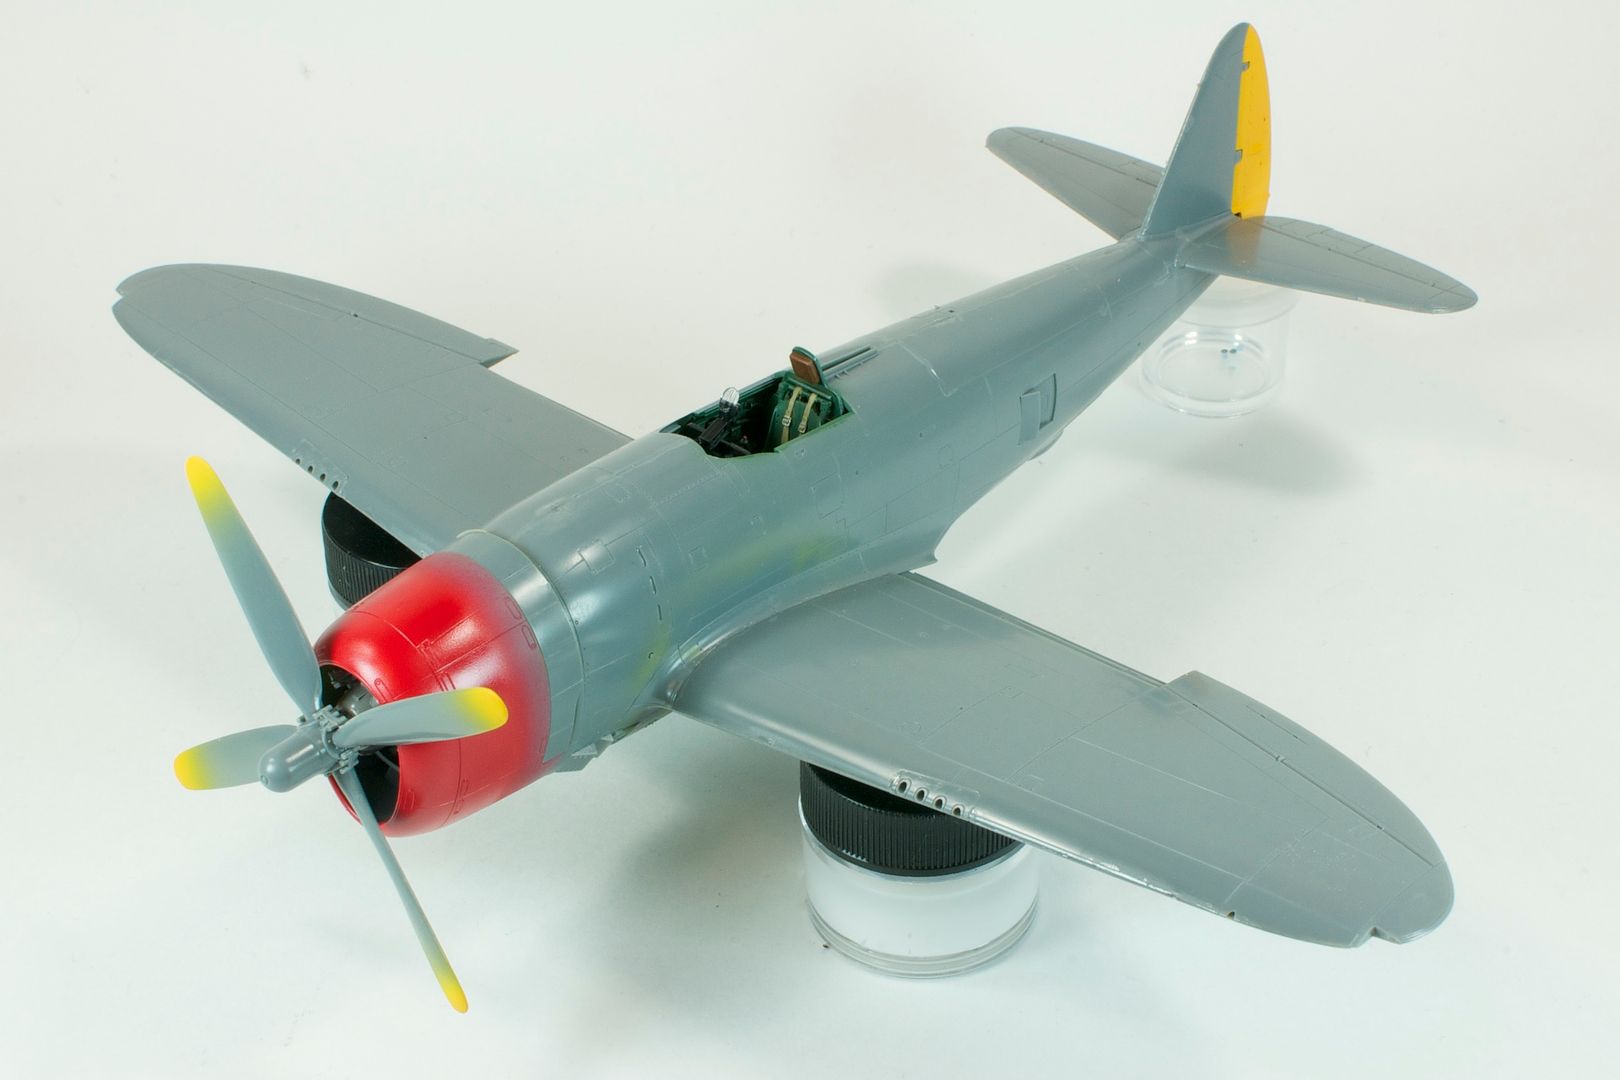
I continue to be amazed at how well this kit fit together, even next to Tamiya’s fantastic P-51B Mustang. There are no gaps of any kind, and only two or three “dents” from the Tenax that will need to be filled and sanded. The rest will almost certainly be content with Tamiya Liquid Surface Primer and a gentle sanding. As one who finds putty work the most tedious aspect of modeling, I have zero problem with this.
Coming up in part 3 of the build report, painting Colonel David Schilling’s “Hairless Joe”…

One Comment Add yours