Part I | PART II | Part III | Part IV
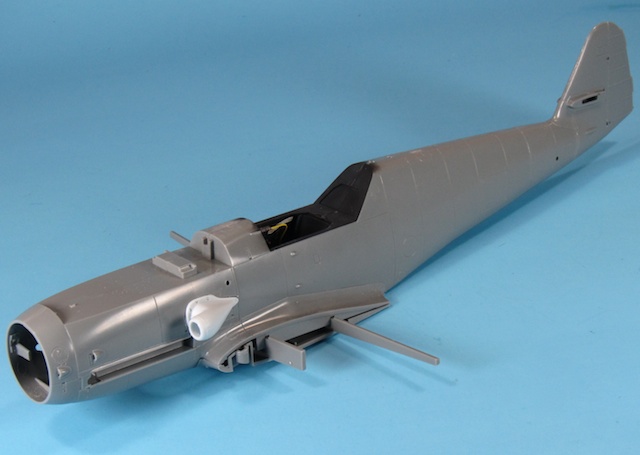
When we left off in Part I, the 109’s cockpit was more or less done, and the fuselage joined:
 After that, the wait for the RB Productions seatbelts and radiator grilles kind of sidelined it for a bit, and I found myself distracted by the French P-47 and the micro MiG-21s. But now it seems the Swiss Miss is getting back underway.
Cockpit Finish-Out
Radu’s belts finally arrived.

To be honest, I’m torn about these. The textile components aren’t as detailed or in my opinion as convincing as those produced by HGW. For instance, they lack the stitching detail. However, they do assemble easier and they are still miles better than PE belts.


Because of the way the shoulder harnesses anchor, they can’t go in until later, but the cockpit itself was installed into the fuselage and the lower fuselage and wing spars closed in place.
Airframe
Up next? The wings! With the radiator grilles in place and the wheel wells painted first Tamiya XF-1 Flat Black and then Gunze RLM 02, everything went together nice and easy. The Hasegawa wing spars are flimsy and honestly I’d have preferred a one-piece lower wing even if it meant having to shim the upper wingroot, but they do the job.


Okay, wings installed! After that came the chin radiator intake, the upper cowl, the “bulle” bumps required for the larger 13mm MG 131 machine guns, an the Master Details replacement stabilizers.

Am I blowing through this?
Absolutely.
But why?
In part because the kit, after the wings go on, is essentially mindless. If you can glue plastic together you can build this 109. There are some small gaps here and there, but the biggest problems you’ll have are seam lines and smoothing out your weld seams. As such, it’s boring as sin to write about.
But also because I find this kit somewhat underwhelming. It’s not a bad kit…it’s just that it feels soulless to me. It feels like some sort of study in minimum-level-of-effort efficiency across the board. I’m having a hard time finding the passion that went into this kit.
You look at any Wingnut Wings kit, or any recent Tamiya release…heck…even those tiny Eduard MiG-21s I just built, and the passion is obvious. Somebody stayed up nights thinking about that kit, tweaking the engineering this way and that, probably fighting for their ideas in meeting after meeting. Those kits, to me, are more than the sum of their plastic.
This kit, it feels exactly like the sum of its plastic, and nothing more.
So I’ll just say that the rest of it goes together more or less without incident. In mine, the tail has a slight curve to it (the tail itself, mind, not the join at the tail plug), which causes the stabilizers to look a bit weird in alignment. I think there might be some very slight dihedral issues with the wings, too, which are totally my fault for trusting the wing spars to do their job (and if they don’t, why bother?).
Let’s see…what else? Decided to pose the canopy closed because 1) the lines of the Erla hood just look better closed and 2) the “giant bar of plastic” canopy “hinge” was in no way convincing, and so prominent as to be distracting. So I shaved it off, closed up the canopy, and masked it off with Eduard’s mask set. Frustratingly, this one of their “off” sets, with the masks being slightly too long for several areas.
Okay…so on to…
Paint Prep
Despite going together very easily, the Hasegawa 109G-14 is a pain to putty and sand, in part due to the separate wings that force you to wield a sanding stick across some intricate detailing on the undersides of the wings. Everything also seems to have very minor seams in need of puttying. I tried to knock these out with Deluxe Materials Perfect Plastic Putty and then Mr. Surfacer 500, but ultimately had to resort of the good old 3M Red Acryl putty.
After sanding this down, I hit the 109 with Tamiya Fine Surface Primer out of the rattelcan.

I typically prefer to airbrush my primer, but the Tamiya can did a pretty solid job. Not as smooth as Mr. Surfacer 1200 out of the airbrush, but not much is.
After the primer had a short time to set up, I moved along to some Tamiya XF-1 Black and put down a base for the Swiss neutrality stripes. Because white over black is way more interesting than white over light gray.

With the black base on, it’s time to wrap up Part II and move along to Part III and the painting of the Swiss Miss.

Part I | PART II | Part III | Part IV

One Comment Add yours