
I’m thrilled to introduce our first guest post here on Doogs’ Models – Rick Kranias’ review of UMM-USA’s wickedly helpful PropMaster jig! Enjoy –Doogs
During the “stocking up my stash” directive last year I purchased MDC’s Hawker Typhoon. It’s a beautiful resin kit and I look forward to build one of my favorite WWII ground pounders in 1:32. As I studied the instructions I noticed the props (you get both a 3 and 4 bladed option) need some type of jig to align the angle or pitch of prop blades.
I called MDC and they have no jig available. I was convinced this would be a challenge but doable.
As I acquired additional after market props for my 190’s and 109’s I realized prop alignment is now a typical building requirement for these resin upgrades. Further, most of my 1:32 kits require prop blades to be individually inserted/glued into the spinner. Again, I totally felt comfortable with my skill-sets, “yeah, I can do this.” However, deep down inside a little angst was brewing on making nice aligned props without a jig. I had actually sketched a design to make my own prop jig using balsa wood sheet and 1/8” wooden dows.
Enter the UMM (Unique Master Models) -USA PropMaster. While mining the UMM-USA site for lead wire I tripped over this prop alignment life line and it could not appeared at a better time.
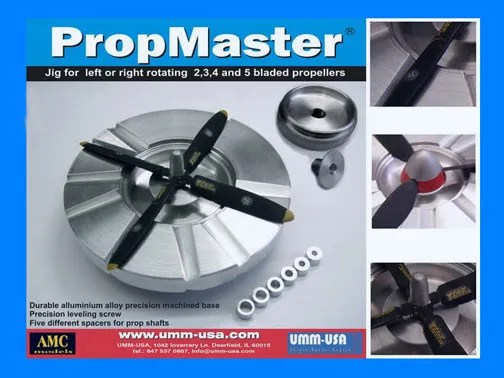
The PropMaster is machined aluminum with 3 major body components and 6 metal spacers. You can set 2, 3, 4 or 5 bladed props. PropMaster is available in 4 major scales:
- 1:144 – USD$22.96
- 1:72 – USD$24.96
- 1:48 – USD$28.96
- 1:32 – USD$38.96
CA and model glue can be removed off the metal
You can execute fine adjustments using the base screw to select the desired pitch of your prop blades either in a right or left rotation.
The PropMaster assembles in a matter of minutes and you are ready.
Components Of The PropMaster

Putting It All Together


Using the PropMaster


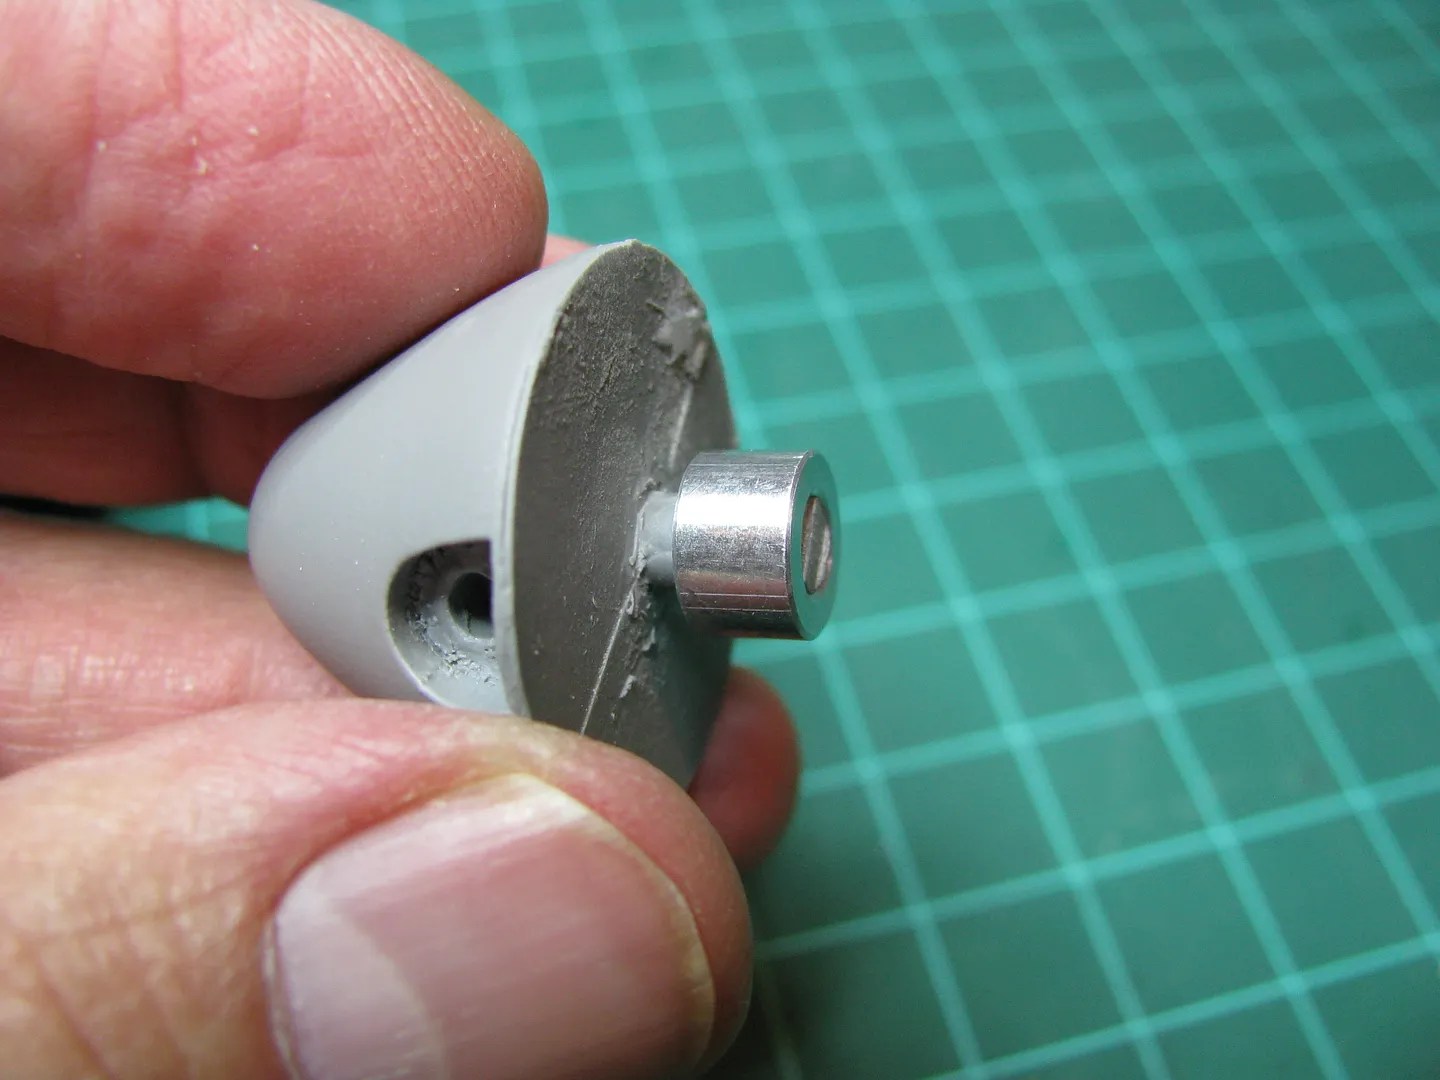

No Prop Shaft? No Problem.


My Analysis?
I can certainly recommend this tool to assist with prop pitch alignment. Engineering is outstanding and well machined. With the popularity of aftermarket options for props and prop spinners this tool is a helpful piece (perhaps a must have) of equipment for your bench.
Website: UMM-USA (Unique Master Models)
Direct Link: UMM-USA Prop Master

Saw one of these at the Nationals. I almost bought one. Looks like I should have.